Quick steps to follow on how to recall an email message in Gmail.
Many of us have faced this situation, sent an email accidentally or quickly and just wanted to unsend it. It might be an email with typo mistakes, or an email sent to another wrong person. The question ‘how to unsend an email?’ runs through our minds.
How to unsend an email in Gmail for Web?
- First, go to your Gmail account. Then, compose an email and send it.
- In the left-bottom corner, you can see ‘Message Sent, Undo, View Message’. You must very quickly click on this “Undo” option.

- If you were quick in clicking the undo option, then you will see ‘Sending Undone’ in the bottom-left corner. You can see the email in draft format.
The disadvantage is the default timing provided by Gmail. It allows you to view the UNDO window only for 5 seconds.
How to customize Undo Send?
It is possible to change the ‘send cancellation period’ time. So, if five 5 seconds is too quick you can easily change the time in Gmail.
- Open your Gmail account.
- Then, click on the settings icon on the top-right.
- Now click ‘See all settings’ and make sure you are in the ‘General’ tab.
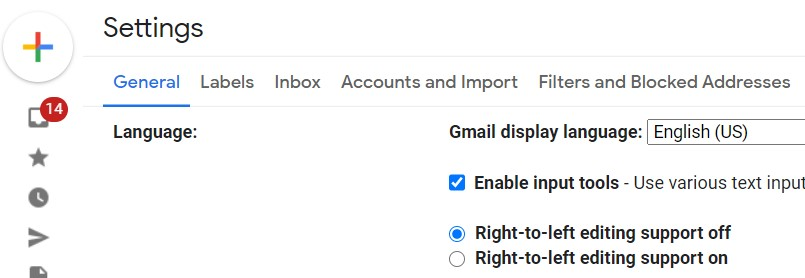
- Using the drop-down menu, you can set the timing on how long to see the ‘Undo Send’ option.
- You can choose 5, 10, 20, 30 seconds, by default 5 seconds will be selected.
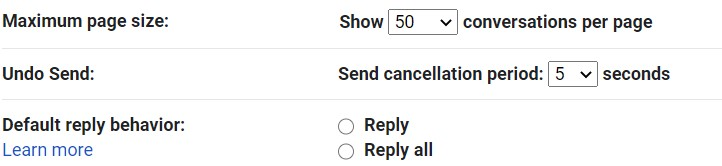
- Once you have chosen your desired cancellation period go to the bottom and click on ‘Save Changes’.

How to use Undo Send from the Gmail App?
With the use of smartphones accessing Gmail from mobile has been feasible. Working people find it easy to access their emails on the go. In the case of the Gmail mobile app, you cannot change the send cancellation period time. It is predefined at 30 seconds. So, once you have sent an email via the Gmail app you can recall the email within 30 seconds.
- First, send an email from your Gmail app.
- Then, the ‘Undo’ option pops up at the bottom-right of your mobile screen.
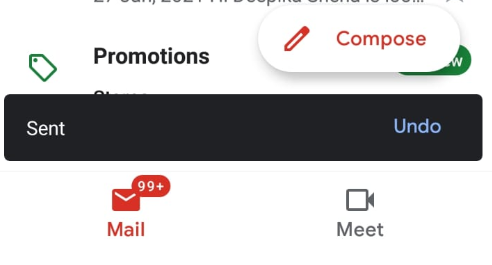
- If you are in the need to recall the sent email, then quickly click on the undo option.
Use the ‘Confirm before Sending’ option in the Gmail app
Many of us are not even aware of this option. Now, let us see how to enable this option.
- First, open the Gmail application on your mobile.
- Then, click on the three lines which are present at the top left.
- Now, from the drop-down click on settings.
- Again click ‘General settings’.
- You can find the ‘Confirm before sending’ option at the bottom. Check the box to enable this option.

Once you enable this option, you get a notification ‘Send this Message?’ with the options ‘Cancel and Ok’.

So, there is a chance of rechecking or reviewing your email before sending it. Thus, this option helps you to recheck and review your email in the Gmail app.
Now, that you know the steps involved in how to recall an email in both the Gmail web and the Gmail app its time to try it. So, try sending a test email and try out recalling your email.


Leave a comment